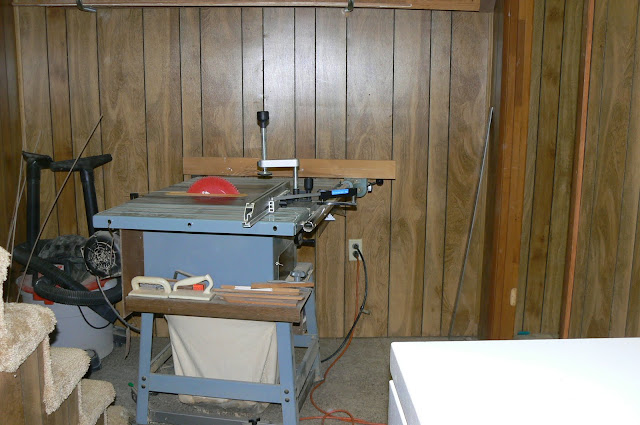
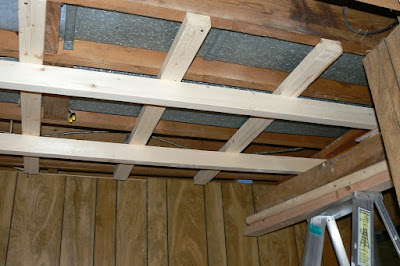
(hmmm… pics below show a “spoiler” for what’s coming – can you figure it out?)
The floor presented multiple problems – just like in the family room upstairs, the flooring was that old, orangey asbestos tile (do you ever wonder who thought that color was a good idea? I sure do!), and there were any number of tiles that were cracked, broken or completely loose. In addition to that, the bathroom (which we had removed at this point) had a floor made up of those small, grouted ceramic tiles – the ones that are about one inch square - on top of the asbestos tile. And then there was that pit where the floor drain was, below the washing machine location. What a mess!
What to do, what to do?
Concrete to the rescue! A few years earlier, we’d had the patio replaced – the original one was sloped exactly backwards from what it should have been and therefore funneled rain water into the basement cinderblock walls, causing the dampness and mildew problem. New patio angled water into the yard (imagine that). We’d been so happy with the result that we’d had the same company replace the front walk and the outside basement entrance stairs. We called them in again to work on this problem.
They partitioned off approximately one quarter of the entire basement floor - including the former bathroom, the drain pit, and the worst areas of broken tile - and poured about a two inch layer of concrete. Yay – insurmountable flooring problem fixed!
While the concrete was curing (several days), we put the Pergo-like flooring down at the foot of the stairs, the hallway, and the former bedroom / new rec room. Of course, the flooring pieces need to be cut to length, and also to width for the final row. We needed the saw, but it sure was in the way!
In the shop and the under-stairs storage space, we opted for commercial grade vinyl tile (yes, those 12-inch squares you see nearly everywhere, otherwise known as VCT). Yet another skill to learn (yea?). To install VCT, you put
Once you put the adhesive down, it needs to dry and cure for several hours – you know it’s ready to put the tiles in place when there’s a significant color change to the goop.
Figured it made sense to start in the place least likely to be looked at, so we began under the stairs. Waaaaaay under, beneath the lowest step. Look at your stairs. Now imagine being under them and inching outoutout into that very small, very cramped space – ugh!
Next came the shop, but we started in the least-seen area there also – behind the water heater and furnace, then it was on to the big expanse of open floor. Oh, and we put them in with the design all oriented the same direction, rather than the cross hatched layout commercial installers normally use (wonder why they do that … it’s clearly a standard since you see it everywhere, but I always think it looks silly).
I’m rather pleased with how well the tile fits around that support pipe! :)
We took about 10 minutes to look around at the pretty new floor and congratulate ourselves on our accomplishment, and then it was time to start on putting up some sort of ceiling in the more finished area.
Oh, you say, it’s a basement – they’ll put in a suspended ceiling. Uh … no. We’ve never liked the fussy factor in the way the grid has to be installed – all those wires and such - so we found something that installs in a different way. The different system did, however, require some framing be installed in order to hang the tile holder pieces. To be honest, it was probably just as fussy as wiring up the suspended metal frames would have been.
Hey, this basement looks rather nice!
>^..^<


No comments:
Post a Comment